
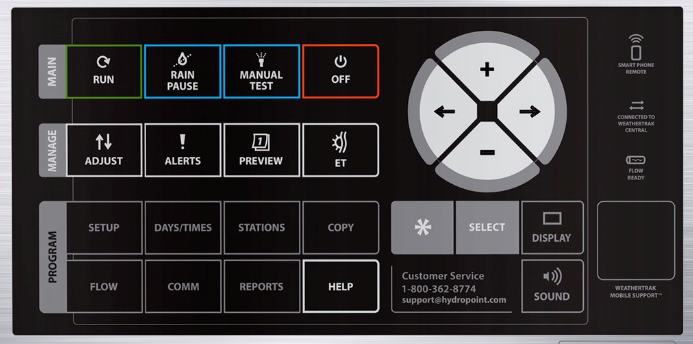
The WeatherTRAK front panel has three types of menu buttons:
- Main menu buttons
- Manage menu buttons
- Program menu buttons.
To scroll through all the sub-functions within a menu, use the àand àbuttons.
To select choices for each sub-function, use the and + and – buttons.
To display additional information in some sub-menus, press the * button. This button also allows you to make changes to controller keypad beeps and alert beeps.
Main Menu Buttons
Main Menu buttons are used most of the time for normal maintenance tasks and cause immediate action to occur.
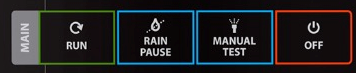
RUN
This menu allows you to view the current operating status of the WeatherTRAK controller. Pressing the RUN button displays something similar to the following screen:
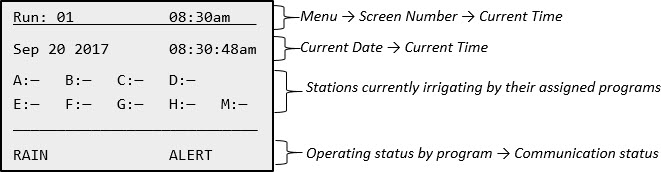
The current date and time are displayed, along with stations that are actively irrigating. The communication status of your controller is also visible here.
RAIN PAUSE
The Rain Pause menu lets you make programming changes to suspend irrigation for a specific number of days due to rain events in a range from 1 to 200 days.
MANUAL TEST
The MANUAL TEST menu lets you manually start stations and perform valve and other diagnostic tests.
OFF
The OFF menu stops all irrigation until the user goes to another screen, such as RUN. The WeatherTRAK controller will still receive daily WeatherTRAK ET updates, and the schedule will be recalculated.
Manage Menu Buttons
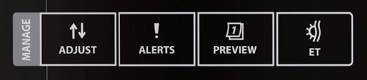
Manage Menu buttons are used to manage water amounts, alerts and to preview current settings and ET information.
ADJUST
The ADJUST menu lets you adjust the amount of water that is being applied to the landscape. You can also increase the day frequency in this menu.
ALERTS
The ALERTS menu allows you to view and clear alerts.
PREVIEW
The PREVIEW menu lets you preview station schedules based on the latest scheduling and weather data.
ET
The ET menu provides access to current evapotranspiration data.
Program Menu Buttons
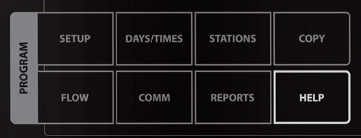
Program Menu buttons are used when programming your controller. Program menu buttons are also used to provide information for diagnostic assistance.
SET UP
The SETUP menu is where basic controller functions are set-up and established.
DAYS/TIMES
The DAYS/TIMES menu is where you set program start times, water windows and water day modes.
STATIONS
The STATIONS menu is where individual stations are programmed.
COPY
The COPY menu allows you to copy station settings from one station to other stations on your controller.
FLOW
The FLOW menu is where you can see the current flow rate as well as setup flow related configuration information.
COMM
The communications menu provides diagnostic assistance for two-way communication.
REPORTS
The REPORTS menu provides reports on station watering times and flow usage.
HELP
The HELP menu provides contact information for customer support, as well as data typically needed by customer support.